Navigation

    CreatiCode Scratch Forum

    • Register
    • Login
    • Search
    • Categories
    • Recent
    • Tags
    • Popular
    • Users
    • Groups
    • CreatiCode
    1. Home
    2. info-creaticode
    • Profile
    • Following 0
    • Followers 16
    • Topics 431
    • Posts 1126
    • Best 394
    • Groups 6

    CreatiCode

    @info-creaticode

    555
    Reputation
    310
    Profile views
    1126
    Posts
    16
    Followers
    0
    Following
    Joined Last Online
    Website creaticode.com/

    info-creaticode Unfollow Follow
    Mod Helper Best Forum Helpers china users premium-teachers Global Moderator administrators

    Best posts made by info-creaticode

    • RE: Some avatars aren't shown to select until searched for

      @jeffreyrb03-gmail

      Acknowledged. This will be fixed soon. Thanks

      posted in Feedback
      info-creaticode
      CreatiCode
    • "Remote Edit" - 2 users working on the same project remotely

      Introduction


      When 2 users are using their own computers, they can collaborate on the same project remotely, using a new feature called “remote edit”. This is a fun experience that allows 2 people to write code together. When one person makes a change, such as adding a block or changing an input value, the other person sees the change right away. This is similar to how 2 people can edit the same Google Doc at the same time.


      How to start a “remote edit” session


      Here are the 4 steps for two users to start a remote edit session:

      1. Owner User shares a new project. There are a few ways to share a project, such as sharing with everyone, sharing with friends only and sharing unlisted (no one can see it unless they have the project URL). The owner user then gives the project URL to the guest user, maybe through email or text message.

      2. Guest User opens the project and clicks “Look inside” to open the project in the playground. The guest user selects the “Edit” menu on top, and then select “Request to edit”, then wait for the owner user to accept the request.

      3. Owner User receives a request from the guest user, and clicks “Accept” button.

      4. Guest User will receive the approval, and their project will automatically reload. This is to make sure the guest user starts with exactly the same project content as the owner user.

      Here is a screen recording for what the 2 users would see on their computers (the left half is for the owner user and the right half is for the guest user):
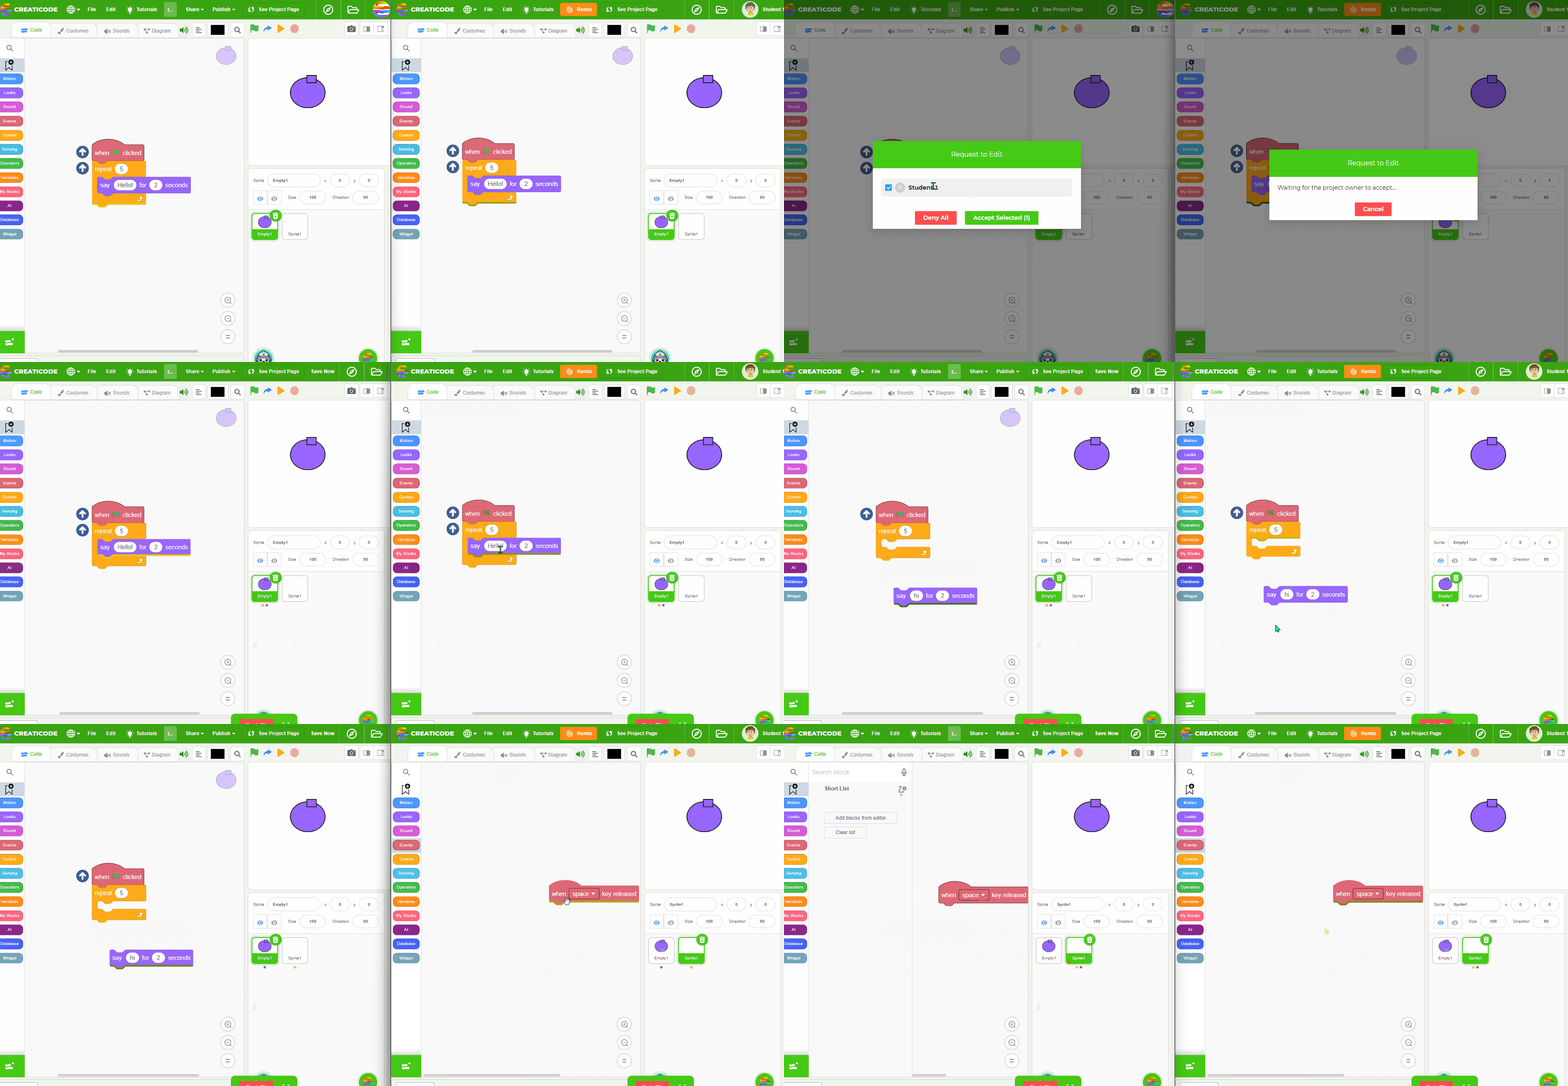
      remoteeditstart.gif

       
      After the 4 steps above, both users will be able to see and change the same project at the same time.


      Making Changes


      After the remote edit session has started, both users can make changes, such as adding/removing blocks, changing input values, etc. When one user is changing a block, that block will become greyed out on the other user’s screen, which indicates the remote user is making some changes. Users should try to avoid making changes to the same block at the same time, since the changes may conflict with each other, and only one change will be saved.

      remoteeditsync.gif


      Limitations


      There are some limits put in place to ensure the 2 users are always in sync:

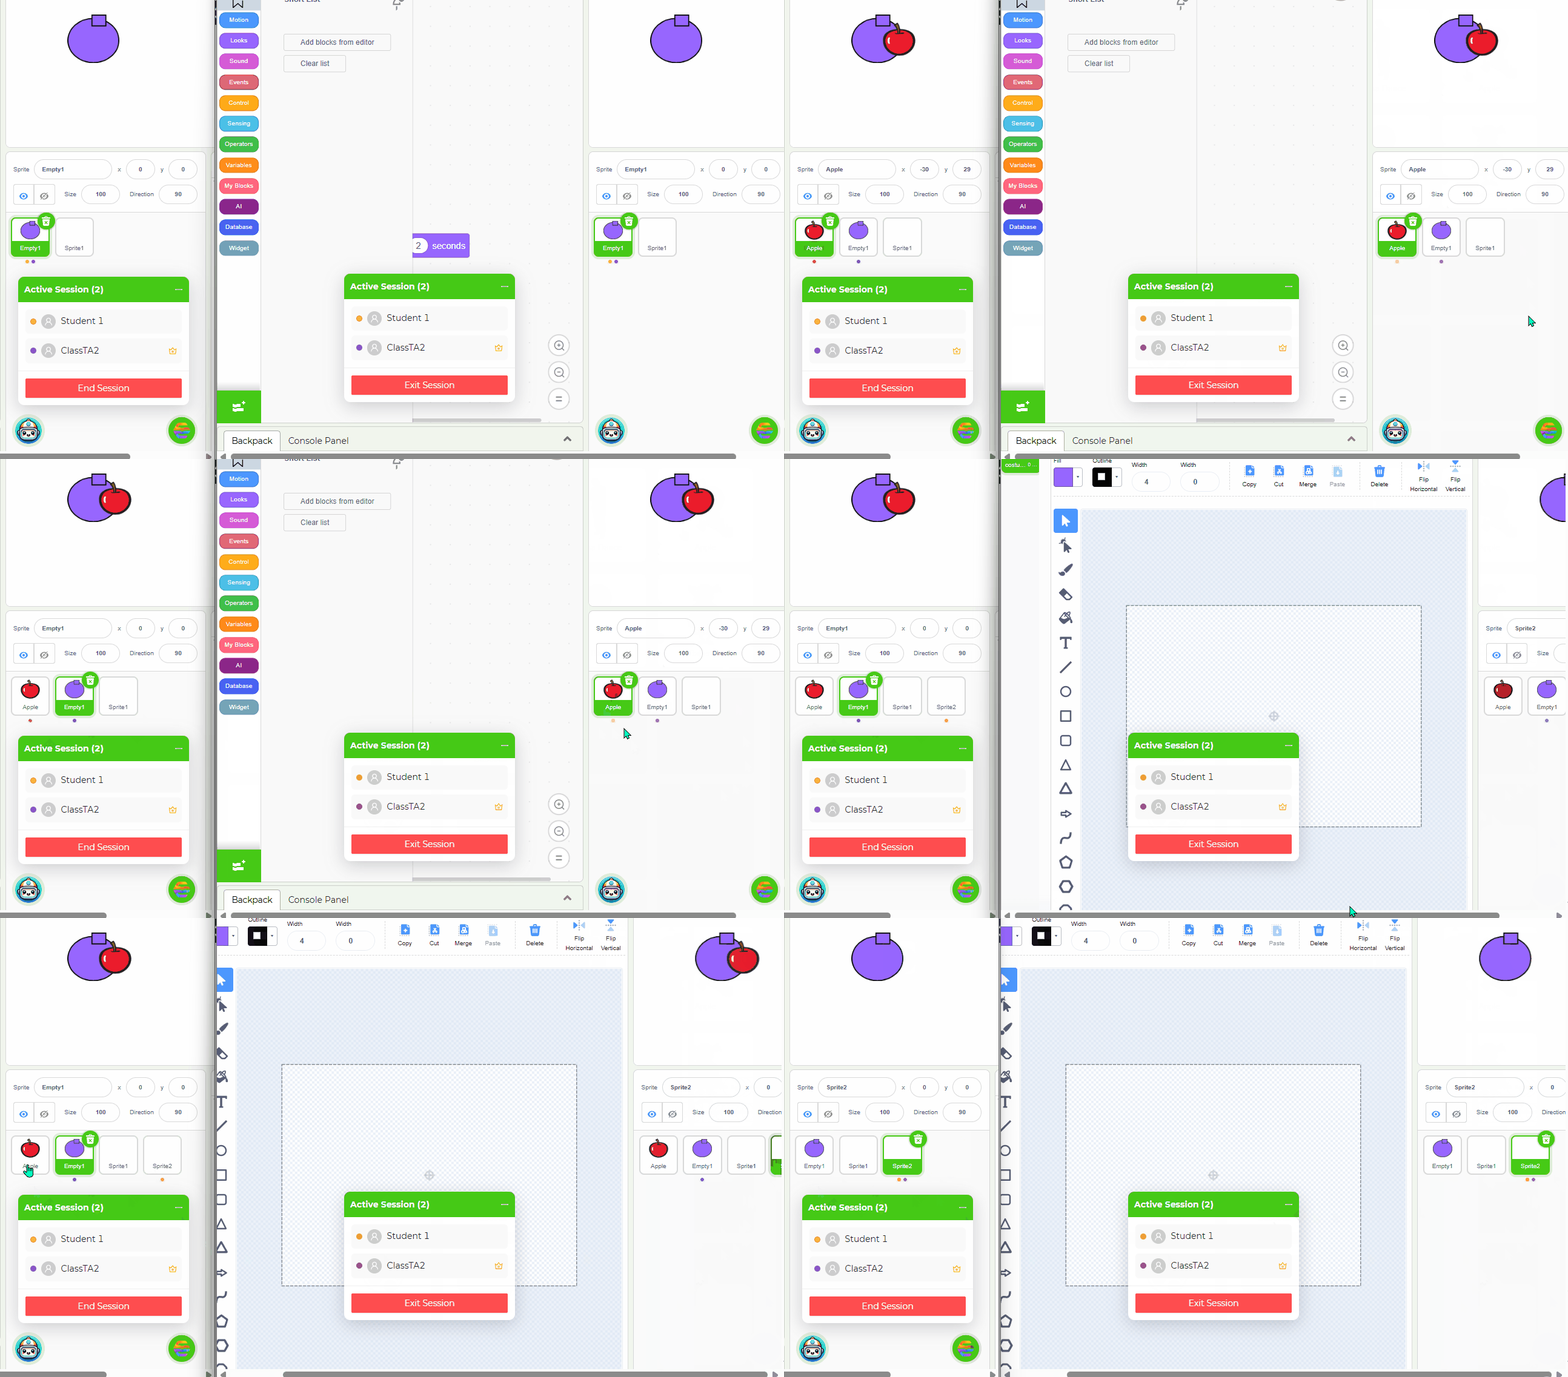
      1. No New Sprites: Currently, neither user can add new sprites once the session has started, and the “add sprite” button is hidden. Therefore, it is suggested that the owner user first creates all the sprites they need before starting the session.

      2. Only Owner can save the project: Only the owner user can save the project, since that user still owns the project. The owner user should save the project whenever some important changes have been completed.


      How to end a “remote edit” session


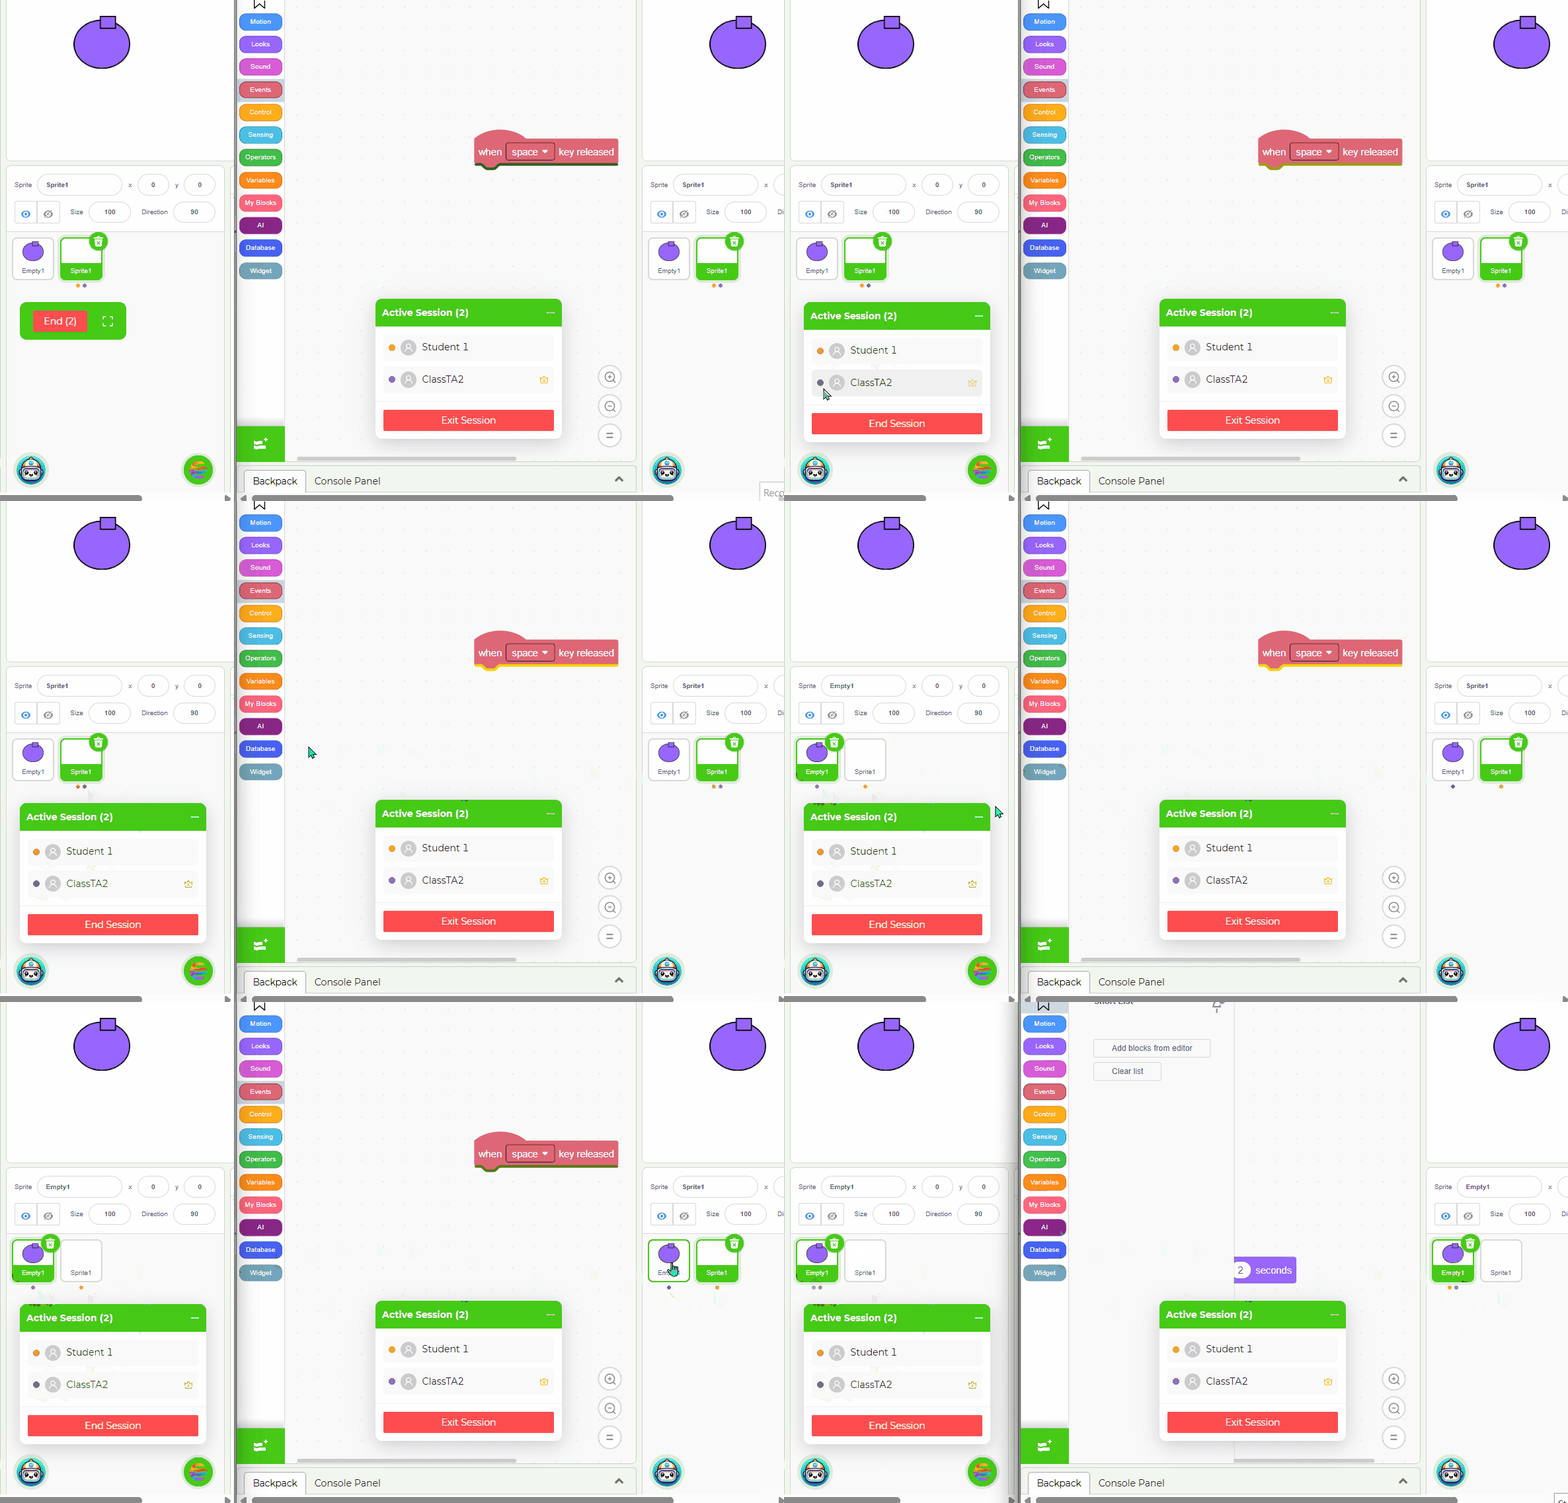
      To end a “remote edit” session, either the owner or the guest user can click the red “End” button at the bottom.

      80f475bd-a3c5-43e9-b597-fce413e428ba-image.png


      Best Practices


      Here are some suggestions on how to make use of this feature effectively:

      1. Voice Communication: When the 2 users are not in the same room, it is better to have a voice communication channel, such as a zoom meeting or a phone call on the side. This can make it much easier for the 2 users to decide who will do what.

      2. Division of Work: Although these 2 users can both make changes at the same time, they can not change exactly the same block at the same time. For example, if one user is updating the input parameters in a block, and the other user is deleting that block, then the result may be unexpected. It is recommended that the 2 users work on different blocks or stacks of blocks to avoid conflicts.

      posted in Tools
      info-creaticode
      CreatiCode
    • RE: What is this?

      @tyller_

      Please give it a try. I would love to hear your feedback. It is always a challenge to know when to give out the answer and when to hold it back, even for human teachers. Our current setting is to make the AI keep providing more hints when the user struggles. Hopefully, that will be good enough for most situations.

      posted in Help
      info-creaticode
      CreatiCode
    • Wishlist for New Models

      If you are looking for a particular 3D model that is not in our library, please reply to this topic. If you can include an example picture of it, it would be more clear what you are looking for. We will try to fulfill these requests as best as we can. Please make sure you do not submit duplicate requests by searching for it first.

      Thanks
      CreatiCode Support

      posted in Feedback
      info-creaticode
      CreatiCode
    • How to record and share screen recordings as gifs

      Introduction


      When you need to explain how a project should work, the best way is to make a screen recording of the stage. This short article will explain which tools you can use to record the screen, and also how to share the gif file to get a URL for it.


      Screen Recording on Windows


      If you are using a Windows computer, we recommend a free tool named “ScreenToGif”, which you can download here: https://www.screentogif.com/

      Here is a short video explaining how to use it: https://www.yo utube.com/watch?v=ELfCBzN1Mtc


      Screen Recording on Macbook


      If you are using a Macbook, you can use a free tool called “Giphy Capture”: https://giphy.com/apps/giphycapture

      Here is a short video showing how to use it: https://www.yo utube.com/watch?v=m-4cJMBGfS4


      Share your gif file


      Once your gif file is ready, you can share it this way:

      1. Go to the “My Stuff” page at https://play.creaticode.com/mystuff, and make sure you are logged in.

      2. Select “My Files” tab on the bottom left

      3. Click the “+Share a New File” button on the top right

      4. In the pop up window, click “Click to upload file”, and then select the gif file from your computer.

      5. Click the green button that says “upload and share with the CC Attribution license” at the bottom.

      After that, you will see the new file in the list of files, and then you can click “Copy file URL” button for that file, which will copy the URL to the clipboard, which would look like this: https://ccdncreaticodecom.b-cdn.net/user-files/BfemEPCxatY6MMAPs/castfireball.gif

      posted in Tools
      info-creaticode
      CreatiCode
    • RE: Current error with accessing the website

      Hi all,

      Sorry there was an outage on our platform earlier this morning. Sorry about the inconvenience. Now we are back online.

      CreatiCode

      posted in Feedback
      info-creaticode
      CreatiCode
    • Magic Wand Selector in the Costume Editor

      Introduction


      In the costumer editor, when the costume is in bitmap mode (as opposed to vector mode), you can use the magic wand tool to select an area with similar colors, then delete the designated area or fill it with a new color.


      Making a Selection


      To make a selection, you simply need to select the magic wand tool, then click on the area you would like to select. It can be of any shape, and may even contain holes in it:

       
      selectmagic.gif

       
      Behind the scenes, it uses a “flood fill” algorithm to expand the selected area into neighboring points, so long as their colors are similar to the point you have clicked.

      Note that if your computer is slow or if the costume is big, then it will take longer for this tool to determine the selected area.


      Changing the Tolerance Threshold


      When the magic wand is selected, you can specify a tolerance threshold value. Its value is between 1 and 255, and by default, it is 5. This value represents how much difference in color it would tolerate when it tries to expand the selection area:

      • When the value is low, it will make sure the selected area only contains points very similar to the point you have clicked;
      • As the value increases, it will include more points even if they are more different from the starting point.

      As shown, when you change this value, the selected area will be updated automatically:

       
      magicthreshold.gif


      Delete or Fill the Selected Area


      After you have made the selection, there are 2 operations you can do with those points:

      • You can click the “Delete” button or press the DELETE key to delete all of those points;
      • You can also pick a color from the “Fill” dropdown, then click the “Fill” button to fill the selected area with that color.

       
      magicfill.gif

      posted in Tools
      info-creaticode
      CreatiCode
    • RE: Code block presets?

      @jeffreyrb03-gmail

      You are right. We should allow users to submit new extensions.

      However, the code snippet library should be more like backpack than extension, since it will allow users to modify the code blocks after a snippet is imported. If it is an extension, then users won’t see its implementation and also won’t be able to customize it.

      posted in Feedback
      info-creaticode
      CreatiCode
    • RE: [Community Project] Let's Build a CreatiCode Project Packager!

      @jeffreyrb03-gmail

      There are already packagers like Turbowarp, which works well for generic Scratch projects. And since most of the new CreatiCode blocks don’t work offline, most likely this new packager won’t do much more compared to a Turbowarp packager, right?

      So the question is whether it will be justified to dedicate manpower on this feature (as opposed to others) if it is not going to add much additional value.

      posted in Test
      info-creaticode
      CreatiCode
    • RE: Need help and ideas

      @attractive-milk

      Maybe you can try these ideas?

      1. Click the trash bin again to make it stop yelling
      2. Make random garbage items fly out of the trash bin
      3. Drag and drop garbage items into the trash bin
      4. Make the trash bin move to random places on the stage
      5. Add multiple clones of the garbage bin of different looks.
      posted in Project Showcase
      info-creaticode
      CreatiCode

    Latest posts made by info-creaticode

    • Teacher Only: An Introduction to the CreatiCode AI Curriculum

      Introduction


      CreatiCode is built upon MIT Scratch — the world’s most widely adopted platform for introductory computer science education. By design, it preserves Scratch’s core strengths: intuitive simplicity, open-ended creativity, and a pedagogy grounded in iterative, student-centered learning path — create → share → improve → remix. These elements align closely with constructionist theory, which posits that learners build knowledge most effectively through active creation and social engagement.

      CreatiCode extends these foundations by offering a robust suite of tools tailored for artificial intelligence (AI) education. These enhancements provide educators with the resources to deliver meaningful, hands-on AI experiences while maintaining full control over the classroom environment. If you are considering integrating AI lessons into your curriculum using CreatiCode, this guide outlines essential information and pedagogical considerations to support your implementation.


      Guiding Principles Behind the AI Curriculum


      Our AI curriculum reflects a deliberate and research-informed departure from traditional models. The following core principles guide our approach:

      • Empowering rather than replacing educators: Central to our philosophy is the belief — strongly supported by educational research — that teachers are indispensable. Human educators offer relational, emotional, and ethical guidance that no algorithm can replicate. They foster student motivation, support diverse learning needs, and create inclusive environments. Accordingly, every CreatiCode lesson and tool is designed with the educator at the center. Technology serves to amplify your presence, not to displace it.

      • Maximizing engagement within a secure framework: Engagement is a prerequisite for deep learning. Our curriculum emphasizes relevance, agency, and hands-on exploration — principles rooted in experiential learning and motivation theory. At the same time, we recognize the risks associated with generative AI. Every tool on our platform is safeguarded by robust moderation systems, enabling creative freedom within a protected, school-ready environment. This balance is critical to fostering curiosity without compromising safety.

      • Prioritizing practical application over abstract theory: While foundational knowledge and ethical considerations are important, our curriculum emphasizes constructionist, project-based learning. Students learn best when they build, iterate, and problem-solve in authentic contexts. Each lesson includes practical activities such as creating applications, experimenting with AI tools, and debugging interactive code. Scratch’s visual language removes unnecessary syntactic barriers, enabling students to focus on algorithmic thinking and design. While many curricula focus on AI theory, few offer accessible, hands-on experiences. We aim to fill that gap.

      • Fostering peer collaboration and social learning: Our curriculum is intentionally designed to incorporate simple yet effective forms of collaborative learning. After each core lesson, students pair up to work on an extension of the program they have just studied. This collaborative phase serves several pedagogical purposes: it reinforces learning through repetition, deepens understanding through practical application, and supports the development of communication and cooperation skills. Drawing from the principles of guided practice and social learning theory, these pair-based activities provide a low-pressure environment for students to review core concepts, troubleshoot with a partner, and internalize what they’ve learned through shared problem-solving.


      Overview of AI-related Tools


      CreatiCode equips educators with a distinctive array of AI tools that enhance both instructional delivery and student learning outcomes:

      • AI Coding Assistant: This tool provides intelligent support by explaining code and responding to student queries. The included Socratic Mode is particularly noteworthy — it leverages the Socratic method by prompting students with guided questions rather than offering direct answers. This inquiry-driven approach fosters metacognitive awareness and supports deeper cognitive engagement, helping students bridge knowledge gaps through reasoning and self-discovery. All responses are strictly moderated to maintain a focused, secure, and educationally appropriate dialogue.

      • AI Image Generator: This feature allows students to generate custom sprite and backdrop images using text-based prompts. It fosters multimodal creativity, enabling visual learners to more fully engage in the design process. As with all AI tools on the platform, both the prompt inputs and generated images are stringently moderated, ensuring a safe, school-appropriate environment for exploration.

      • AI Coding Blocks: A wide range of specialized coding blocks wraps powerful AI functionality into intuitive, drag-and-drop components. These include blocks for ChatGPT (with safety moderation), text-to-speech synthesis, hand-gesture recognition, and more. These abstractions reduce cognitive load, allowing students to focus on higher-level problem-solving rather than technical intricacies — an essential practice when introducing AI concepts to novice programmers.

      • Widget Blocks: These blocks provide a rich framework for constructing interactive AI applications. With components such as chat windows, buttons, and text fields, students can quickly design user-friendly interfaces that integrate AI seamlessly. This experience parallels real-world application development, giving students early exposure to essential software engineering concepts, including usability, accessibility, and interface design.

      • Teacher Control for AI Tools: Educators maintain comprehensive oversight through a class management dashboard. You can selectively enable or disable AI features, monitor student interactions (including chat logs and generated content), and tailor the classroom experience to your pedagogical goals. This aligns with best practices for digital citizenship, ensuring student agency occurs within structured and developmentally appropriate boundaries.


      (No) Surprises


      Given the novelty of AI — and particularly generative AI — for many educators, we want to highlight several key differences you will encounter when teaching with these tools. Anticipating these elements will help you plan lessons that are both effective and resilient.

      • AI is inherently unpredictable: Traditional, rule-based programming produces deterministic outcomes. In contrast, generative AI models (like ChatGPT) rely on probabilistic reasoning, which introduces a degree of unpredictability. The same prompt may yield different outputs depending on subtle contextual factors. For this reason, demonstrations that rely on specific AI responses should be backed by screenshots or saved examples to ensure continuity during class. Understanding this variability is part of helping students develop a more nuanced view of AI’s strengths and limitations.

      • Writing skills become essential: Communicating effectively with AI— via prompting — requires clarity, structure, and precision. This introduces an interdisciplinary aspect to AI programming classes, where writing skills play an unexpectedly large role. Students must learn to formulate questions and commands thoughtfully, a skill that overlaps with argumentative writing and technical documentation. Our curriculum provides scaffolded practice in prompt design, incorporating repetition and reflection to support skill development. Over time, students become not only better coders but also more effective digital communicators.

      • Increased emphasis on interface development: While Scratch traditionally emphasizes animated storytelling and sprite interactions, AI-powered projects shift toward interface-centric design. Students build tools rather than narratives, often using widgets — buttons, labels, text fields, chat windows — as the primary building blocks. This shift mirrors the evolution of real-world software from static programs to dynamic, user-facing applications. Through these projects, students learn how to make powerful AI functionality accessible through intuitive design, preparing them for authentic, future-facing development practices.


      By embracing these tools and principles, educators can deliver engaging, rigorous, and safe AI education that prepares students not only to use AI, but to understand and shape it. The classroom becomes a space where students transition from consumers of technology to creators and critical thinkers — ready to navigate a world increasingly shaped by intelligent systems.

      posted in Tools
      info-creaticode
      CreatiCode
    • RE: Is it possible to attach URL to chat?

      @andis_3cc

      So you are hitting the daily limit for free users. It should reset tomorrow.

      posted in Help
      info-creaticode
      CreatiCode
    • RE: Is it possible to attach URL to chat?

      @andis_3cc

      Here is a short example where it downloads the image from the given URL to the sprite as a costume, then attaches that costume to the chat, and then it asks the LLM to describe this image.

      play.creaticode.com/projects/684340d71c49cae4508fc1ff

      Also, what error message are you getting when you say you have hit the LLM limit?

      posted in Help
      info-creaticode
      CreatiCode
    • RE: How to create a Scrolling platformer on CreatiCode

      Hi,

      These are great questions, but there are no easy answers. CreatiCode is a much more advanced version of Scratch, so you will have to learn the basics before creating complex projects.

      Can you start with the tutorials on this list?

      https://www.forum.creaticode.com/category/17/tutorials

       
      You can build some simple projects by following these examples, and then ask more specific questions about what you would like to do, such as how to modify one of these projects based on your idea.

      posted in Help
      info-creaticode
      CreatiCode
    • RE: Camera stuff

      @jamesa-blackwell-57b383d3

      The simplest solution is indeed using the viewport:

      1. Make the canvas size much larger than the view port
      2. Draw a large backdrop in the stage canvas
      3. Lock the viewport on the key sprite
         

      5b9cc078-5ca0-4999-ba1c-c55453084d13-image.png

       
      Here is an example:

      play.creaticode.com/projects/6842f3d73d952dd83a741d13

       
      If this “does not work”, can you please explain what the problems are? We can either refine this or discuss a completely different solution.

      posted in Help
      info-creaticode
      CreatiCode
    • RE: the ai does not work. i need help. please

      Can you please post a screenshot? We have just tested it and this is what you should get:

      aadaef11-1c59-4d67-9fdf-e9eeb8a355cf-image.png

      posted in Help
      info-creaticode
      CreatiCode
    • RE: Is this the right topic?

      @rubiired

      We have communicated with that user and he/she agreed to remove inappropriate projects. If there is evidence that he/she is sharing new inappropriate projects again, we will take further actions.

      posted in Feedback
      info-creaticode
      CreatiCode
    • RE: Is this the right topic?

      @rubiired

      Thank you. We will remove inappropriate projects from that user.

      posted in Feedback
      info-creaticode
      CreatiCode
    • RE: the ai does not work. i need help. please

      Hi, you mean the XO chatbot, right? It sometimes get behind a long queue of requests and may time out.

      Can you please try again now? You can reset the chat by clicking the red button, then ask your question again.

      posted in Help
      info-creaticode
      CreatiCode
    • RE: how slow point lock

      OK. You can control the angular speed of the camera using the “configure camera” block’s last input, which is a percentage. For example, when you set it to 100, it is the default speed, but if it is 10, then it will be 10% of the default speed.

      See this project for example:

      play.creaticode.com/projects/68345dcdcf69bbdc83e9472e

      posted in Help
      info-creaticode
      CreatiCode